Photo-etch parts
Although the Trumpeter kit does come with some photo-etch parts for grilles and fenders, there are a couple of extra 3rd-party PE kits to go with it that add an even more dramatic level of detail.
For this kit, I’m using the Voyager Model PE kit, although I won’t be using everything from it. A lot of the parts from the Voyager set are interior bits, like hatch hinges, tools that are kept inside the tank, and in particular an infrared telescope that is meant to be mounted on the side of an opened hatch. My intention with this kit is to have it in buttoned-down mode hiding in trees and foliage, so a lot of the bits won’t be needed for that.
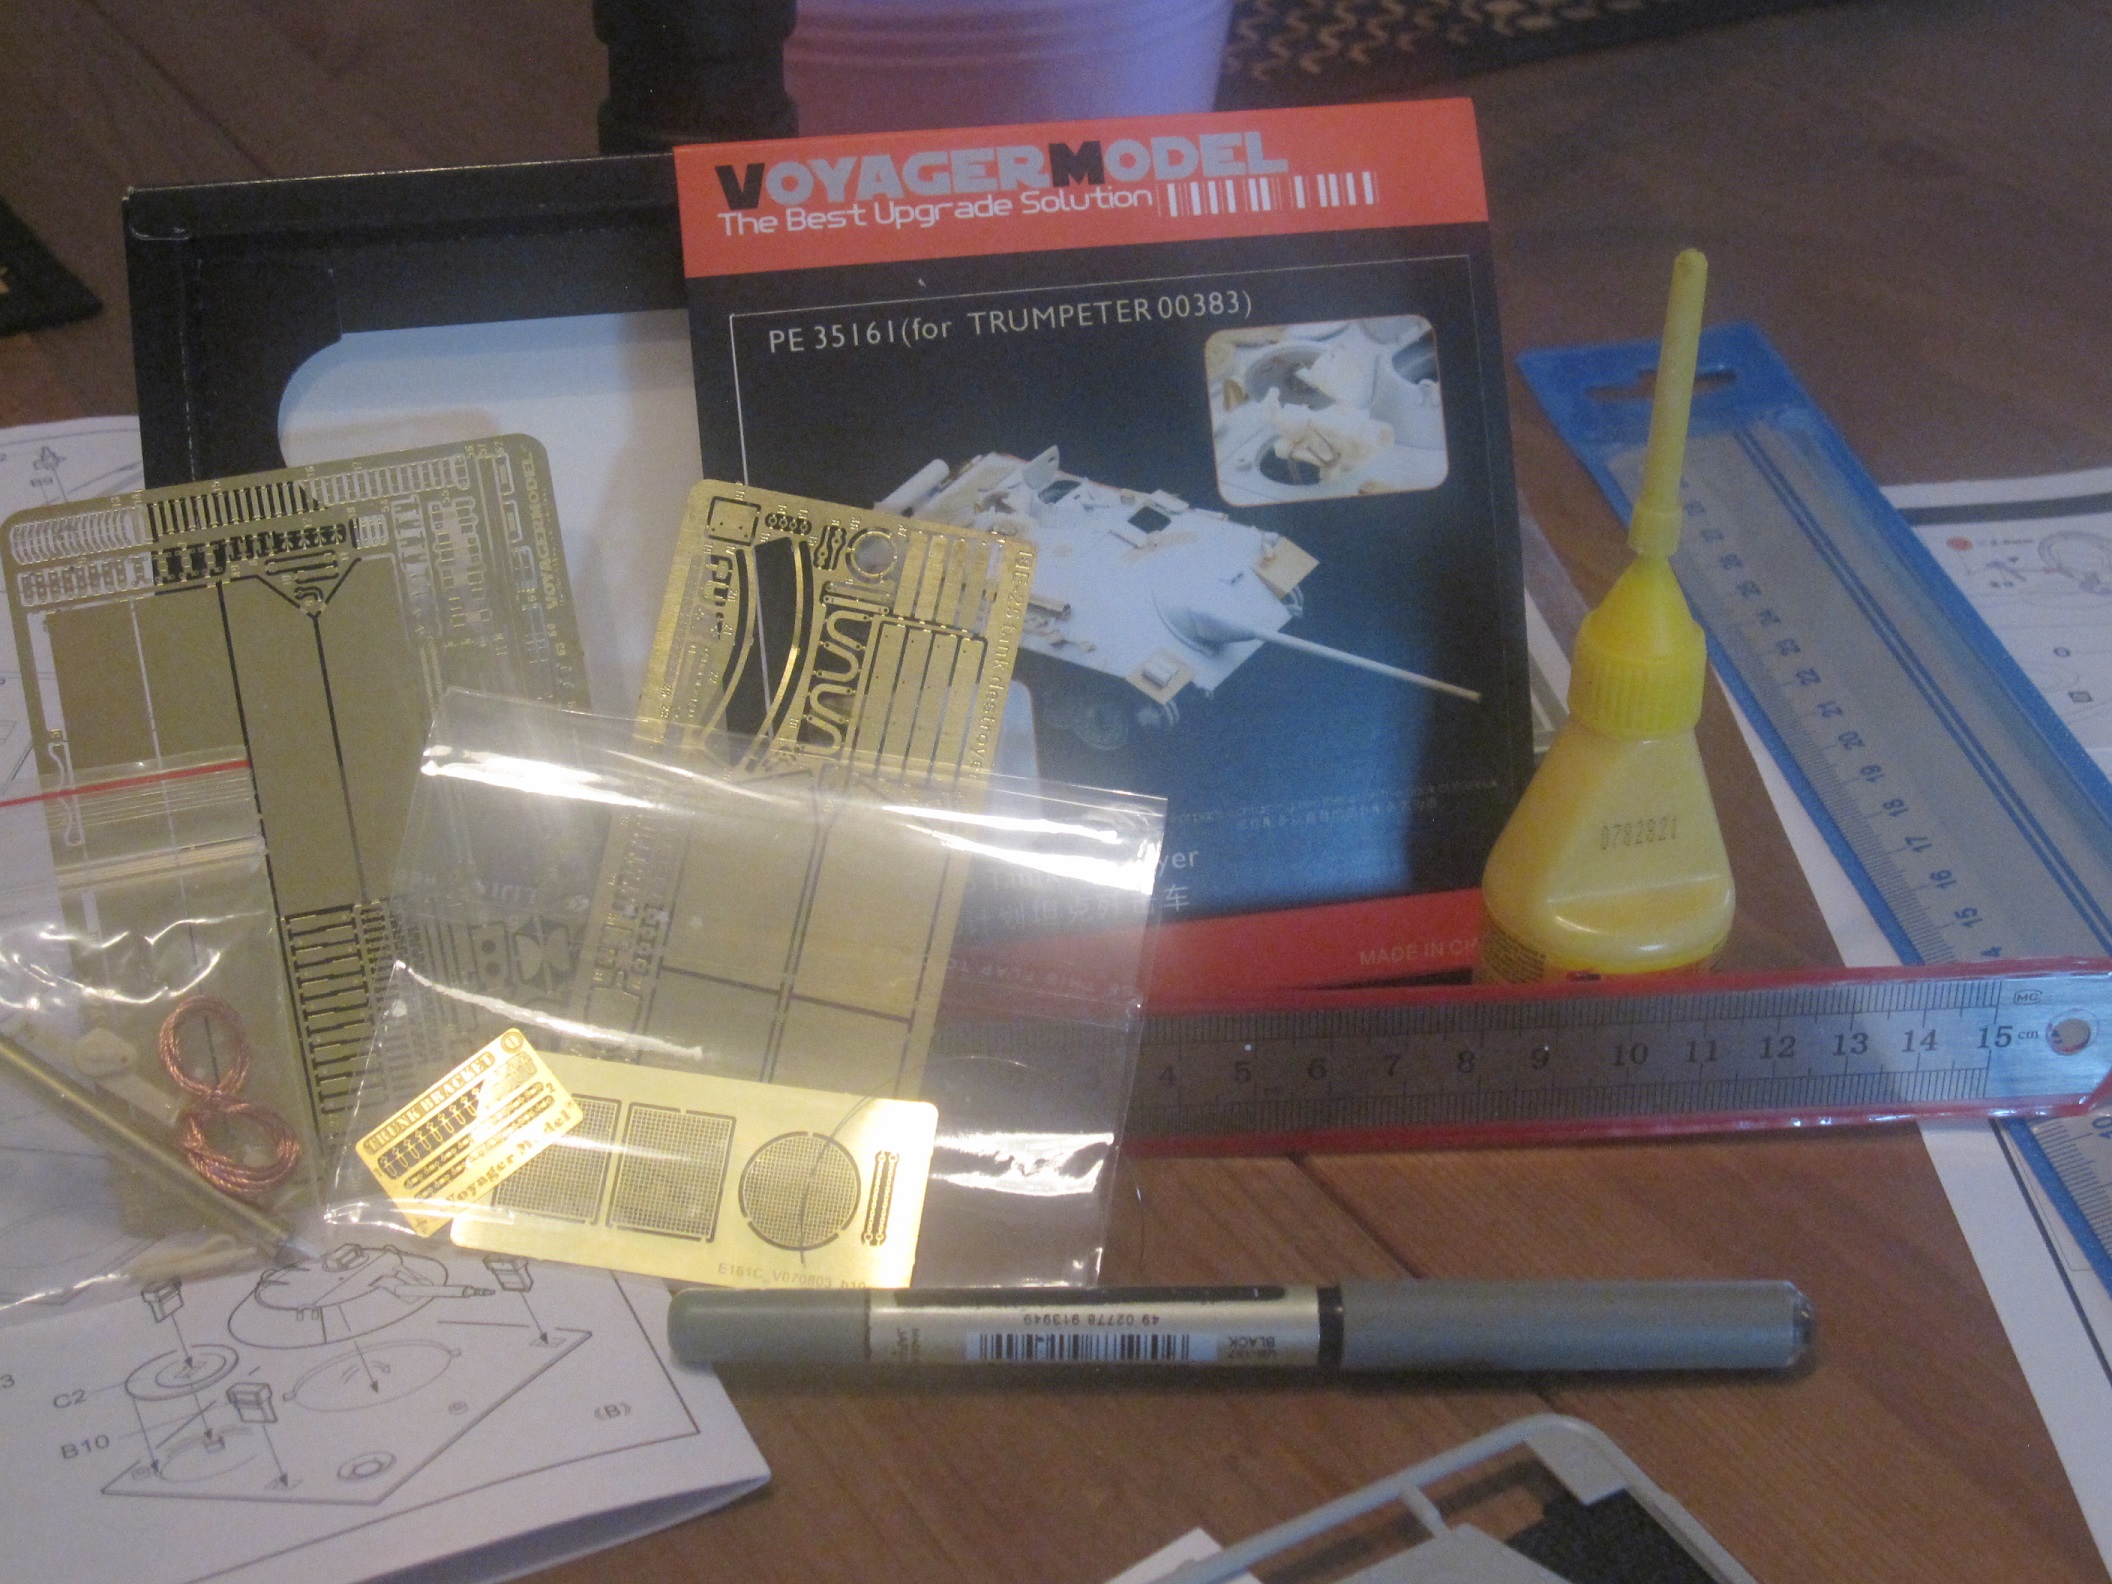
Notice the comparison items here to give you some sense of scale. Click this image to see the full size version.
A note about photo-etch: some bits are REALLY f***ing small. Look in this photograph – you’ll see some parts here are less than 1mm wide – some are basically 1.0 * 0.5 mm in size. If you have big hands like mine, this is going to pose a major challenge, particularly since getting brass PE to stick to plastic requires super-glue (cyanoacrylate). I’ve included some common items like a pen and a container of glue as well as a small cm ruler to give you some comparison.
That’s not to say you should just forego PE if you have big hands – on the contrary, I think it adds a great deal to a kit and can really take the beauty of a finished model “to the next level” (I cringe at writing that phrase). Just be prepared to have a lot of patience with it. Also, if you’re going to be working with it, have a clean mat clear of debris beneath your parts and if at all possible, a very dark drop-cloth beneath your seat. A rather powerful flashlight will also come in handy (because you WILL drop a much-needed part the size of a grain of sand on the floor, and the better contrast you can build up, the easier it will be to find).

In the orange box is the chisel – I use a 1mm head, and the yellow-grip pliers are smooth-faced to hold parts while I file the rough edges away.
In addition, a smooth-face pair of pliers (most pliers have serrated or rough faces to give better traction, you don’t want that) are really useful for holding PE parts without marring them. A tiny-headed model chisel is also recommended for removing parts from the center of PE sheets.
When you remove the parts, generally you want to press down on the part with one finger while you apply the chisel to the connector, and make a habit out of this. Some parts it won’t matter, they’ll be big, but if you’re in the habit, then you won’t have tiny parts go flying away into who-knows-where when you separate their last connection to the main sheet. When you do apply the chisel, make sure you are going after the connector at the point where it contacts the sheet. If you hit it right at the join to the part, you’re likely to warp the part and give yourself a headache trying to smooth the part out before applying. Instead, leave a bit of the connector on the part, and when you have it free, grip the part in your smooth-face pliers with the connector exposed completely and the part itself just barely extending out. Then use a good file with quick, light strokes to file away the connector in a lateral direction (across the length of the part, not against its thin side – you don’t want to end up folding or crumpling the part with your filing).

Make sure to think ahead and decide in advance which items you want to do and which you don’t – and cross out the ones you don’t on the instructions. As you complete items, check them off so you know where to go back to when you return.
As you pick-and-choose which parts will look best on your model, cross them off the instruction sheet that comes with your PE kit so you’ll know what you’ve done and what you aren’t going to do. I erred in this way and ended up building the infrared telescope from the Voyager kit – ooops. Although once I was done I was pretty proud with having finished it, there went two hours which I could have spent doing other bits on the kit.

Twelve parts, two hours, and a small part of what’s left of my sanity, gone away forever.

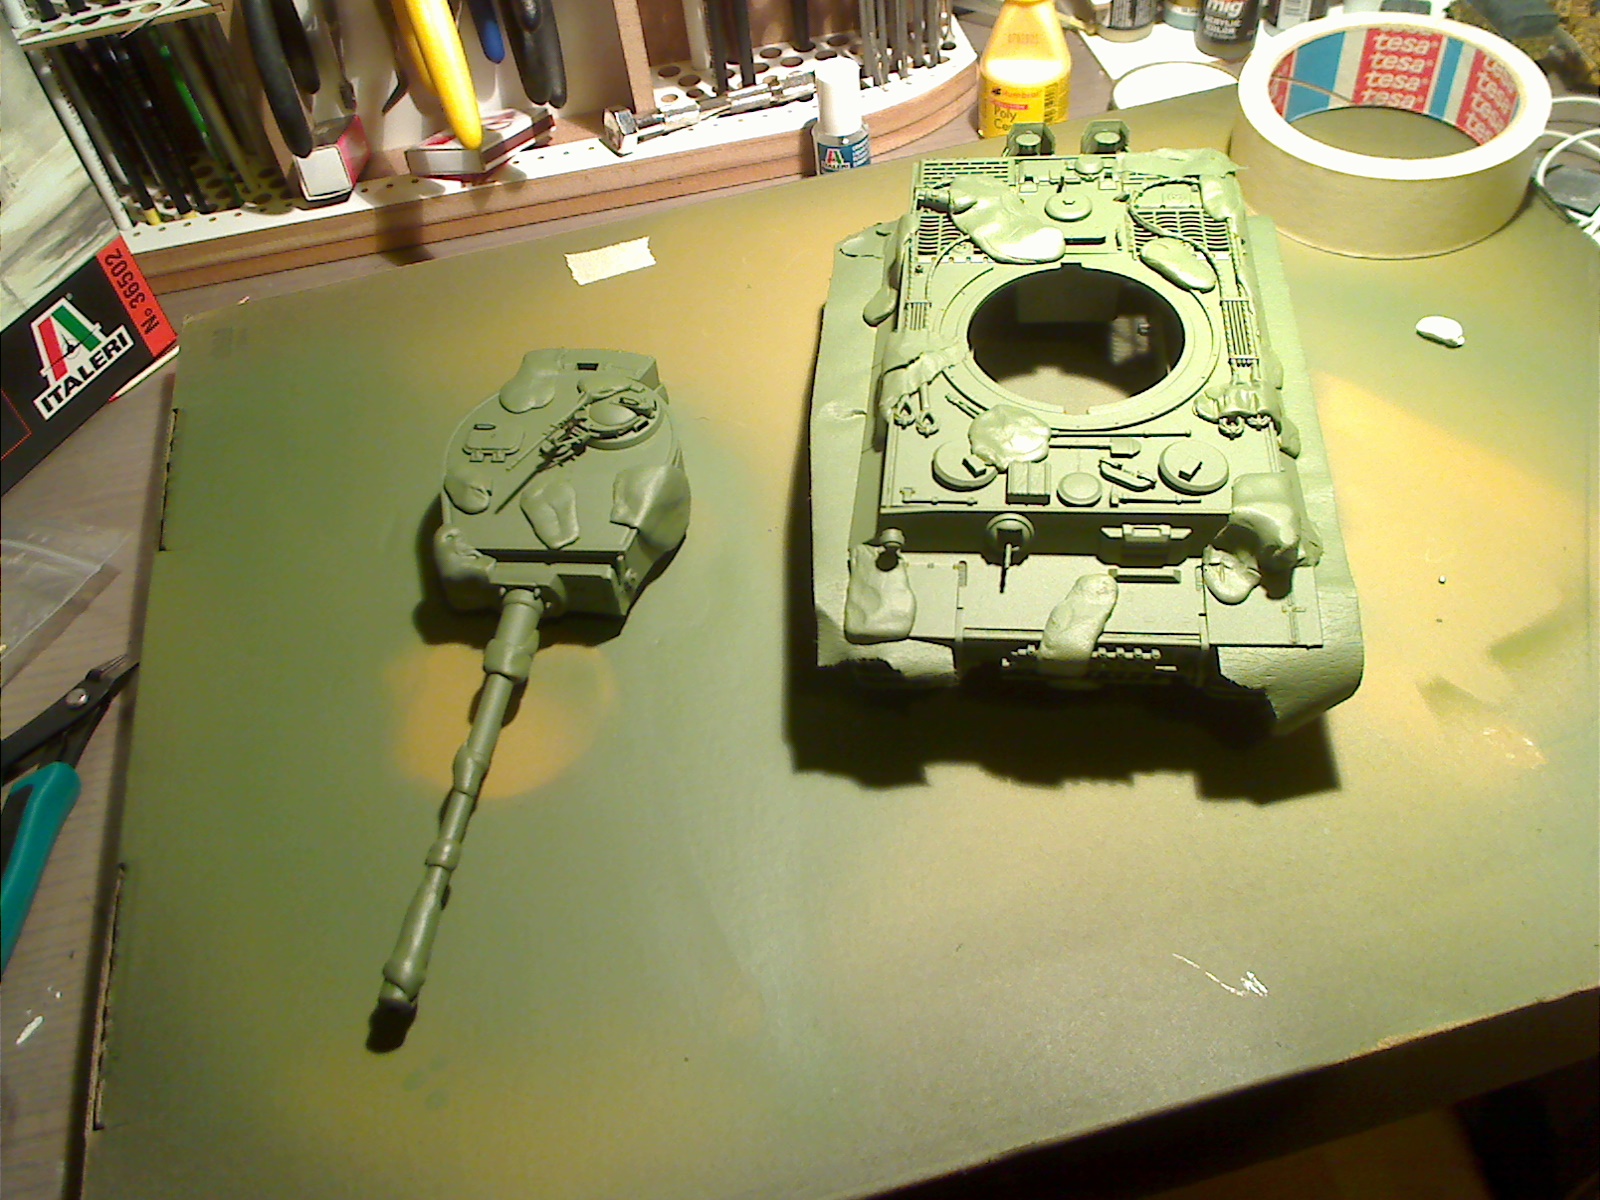
Ready for grab-handles and schürzen mounts, all the plastic has been shaved and sanded away.
Some parts will require to to carve off sections of the plastic molding on the original kit parts – for example, grab-handles and mounts for side armor (schürzen) in the PE kit look much nicer than the little nubs on the side of the hull of the original kit. (Big note on this one – this is where PE kits end up adding a crap-ton of extra time in building a kit – there are fourteen grab-handles and twelve schürzen mounts, each one is a multi-part assembly. If you just want to build a kit and paint it up nice and be done, this is the kind of part you probably want to skip.) In order to mount them nicely, the existing molding will need to be removed. I use a standard Xacto or other razor knife to shave off bits at a time, always gently (except when I forget and apply too much force).

Notice the tiny little brass bits on the bottom – those had to be CA-glued to the resin. I had to include this pic, to justify my actually building this part.
When you are shaving these bits off, as I just said – do it gently. If possible, make sure that the entire blade is parallel with the hull, so the hull serves as a guide to get a clean removal. Once you’re down to just a few little rises (you’ll feel them still), you can reverse the blade and drag it backwards over the remainder with some pressure, and this can remove those last stubborn bits that keep evading you. Finally, use a 600-grit sandpaper to smooth things down. You may also find that the removal process has left faint outlines of where the old elements were – this is a good thing, because that’s what will guide you on where to place the new PE parts!.

Because it’s hard to build models when half your hand dangles like a zombie.
Hey, did I mention you should go gently? There’s two reasons for this, and they both have accidents as their point. If you find yourself exerting any kind of significant force (and by “significant” I mean more than you would consider needed for cutting through a skinny little piece of plastic), something is about to happen. That something is either the blade will slip free, or the part you are cutting will sever – in which case, you have a blade with a good bit of force behind it suddenly moving somewhere you didn’t expect. Depending on the fulcrum of your grip, that somewhere is either going to be into the model, or into your off-hand. Either way it’s going to make a mess of your model, either by putting a big gouge into it (repairable with putty, I hope), or a big blood-spatter onto it (generally washable, but gross). You’ll also end up pissing yourself off, pissing off those who care about you, and if you’re really unlucky, you’ll entertain some ER doctor when you have to explain why (s)he is having to sew your thumb back on.
Okay, see you later, once I’ve done some more.