
Well, unfortunately I lost all the pics of the finished photo-etch, and that kinda put me off of tracking the remainder, so my apologies for those who were wanting to follow that section – sorry :(.
However! I finished it today, base and all, and figured I’d throw in some pics of that:

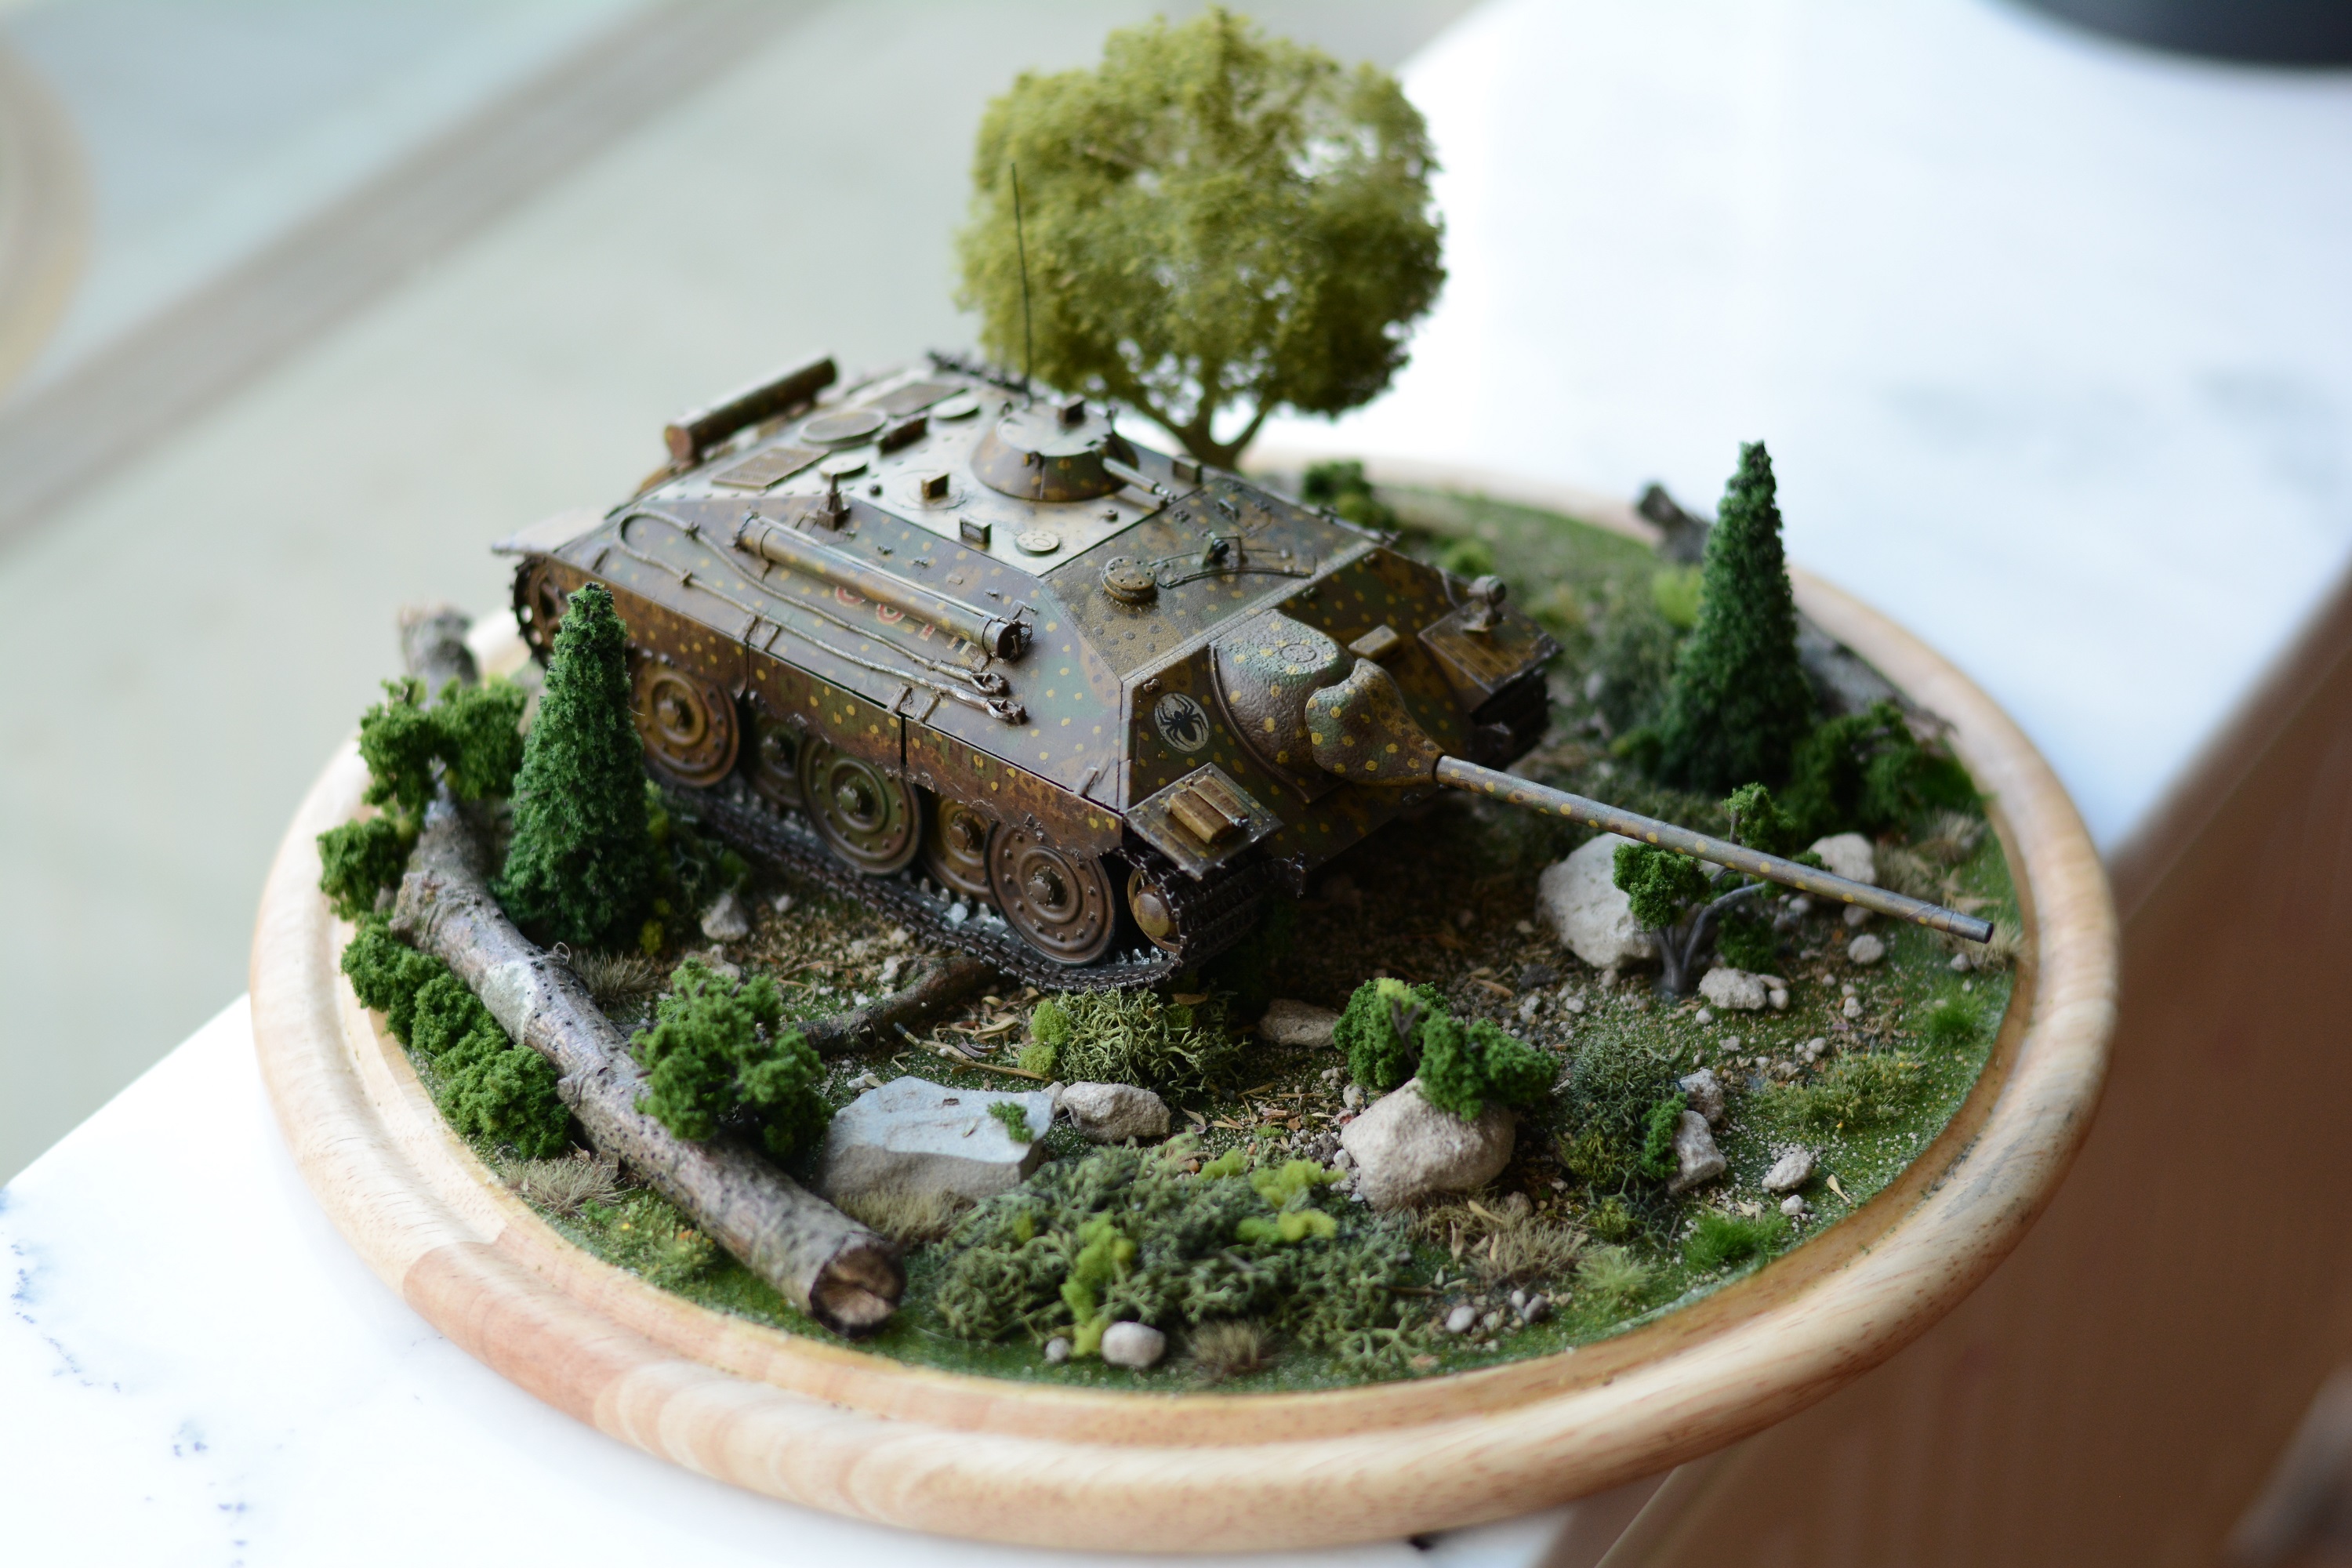


Here’s the little monster in its best angle (I think). I’ll probably enter this photo for a contest sometime soon. Others follow…
I’ll point to a few details to call attention to them for techniques or stuff to try to use and issues had with them:
1. The Schurzen from the photo etch kit – paint it alongside your model, but separate from it, and mask off the pieces that will be glued to the model. Go ahead and attach the mounts after you do the wheels, but leave the plates off until you’re ready to start adding weathering. I can’t tell you how many times those little pricks broke free while I was moving the model.
2. I used white stucco paste for the caked-on mud, and covered it with Mig “dark mud” and then spotted with Mig “fresh mud” effects. Looks good, I like the color, but the white stucco required several coats to really get rid of the brilliant white beneath it.
3. I intentionally bent some of the schurzen with pliers to look like some close calls with trees, etc.
4. I also used Mig “streaking grime” all over in little bits here and there, then going back and lifting up most of it with a brush moistened with thinner. When you do this, do the lift SAME DAY, preferably apply to one panel and then remove from same panel as soon as it’s done. I let one of the schurzen sit overnight (right front), and it shows, doesn’t look as good as the others.
5. My base hull coat was in a German dark yellow from the “Flames of War” branded paint. This paint dissolves in acetone. I found out somewhat harshly (but thankfully in a way that was easily fixed) when I used acetone as a fixer for a dust pigment. Note to self: cover the hull with satin or other varnish before weathering.
6. Clear gloss lacquer beneath decals is a great plan, works wonderfully. Adding decal solvents to get rid of silvering completes the “painted on” look. Acetone can then potentially bork your decals so again, varnish after.
7. That boxy thing on the front right fender is the baseplate for the jack – generally it should be colored as though it was painted with the tank itself (new tanks on both sides generally had their equipment attached and it got painted over, after time tools would get lost or broken and new ones that weren’t painted would be acquired).
8. Hairspray chipping technique on the muffler to give me some rust spots underneath – good stuff, but make sure you mask the paint if you’re about to varnish the thing, or the varnish will prevent water from getting in to soften up the paint.
9. The rolled-metal barrel is a great gripping point for when you have to handle the model without breaking fragile spots.
10. The photo-etch grab handles along the top on either side will break and disappear if you even look at them unkindly.
11. The radio antenna is a bit of wire painted black and super-glued into a socket on the top. Nothing special in its construction, just added a nice complete look to the model.
12. The whole model was coated with a brown filter for German yellow vehicles, and also with a wash designed for the same color scheme. I then used the streaking grime in a 50/50 dilution to create a pin-wash for a few seams and hatches.
13. A little bit of black plus steel was then sponge-applied to spots where foot traffic would go, and a little around the edges to give a chipping effect.
14. The base is a $6 cutting board I bought from the kitchen department of TK Maxx (TJ Maxx in the US). I glued a trimmed “grass” from Woodland Scenics to it, then sprinkled with some cement dust from a local demolition site, some tiny gravel, and then dried thyme and oregano leaves. Smells nice, too. A broken stick from somewhere outside added larger “tree fall” elements. Larger gravel pieces and some trees (a few of which I trimmed branches away from the trunk to look like bushes) from various manufacturers were added after that, and finally some various grass tufts which are available from most gaming-mini stores.
So…I’m getting there. Not totally pro, but it looks pretty damn nice sitting on the shelf.
Next up…I’ll be doing a small USS Enterprise from the old Star Trek series for a friend’s “Man Cave” and then after that, I buckle down and start on the shuttle bay for my own 1/350th Enterprise Refit!
