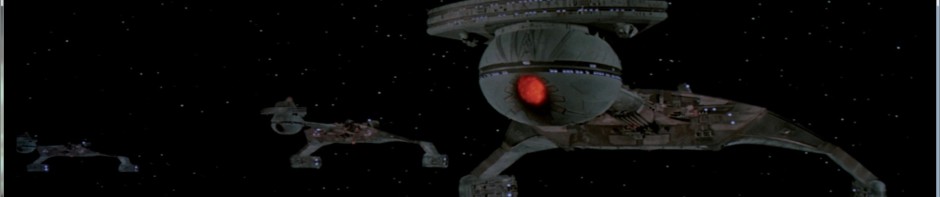
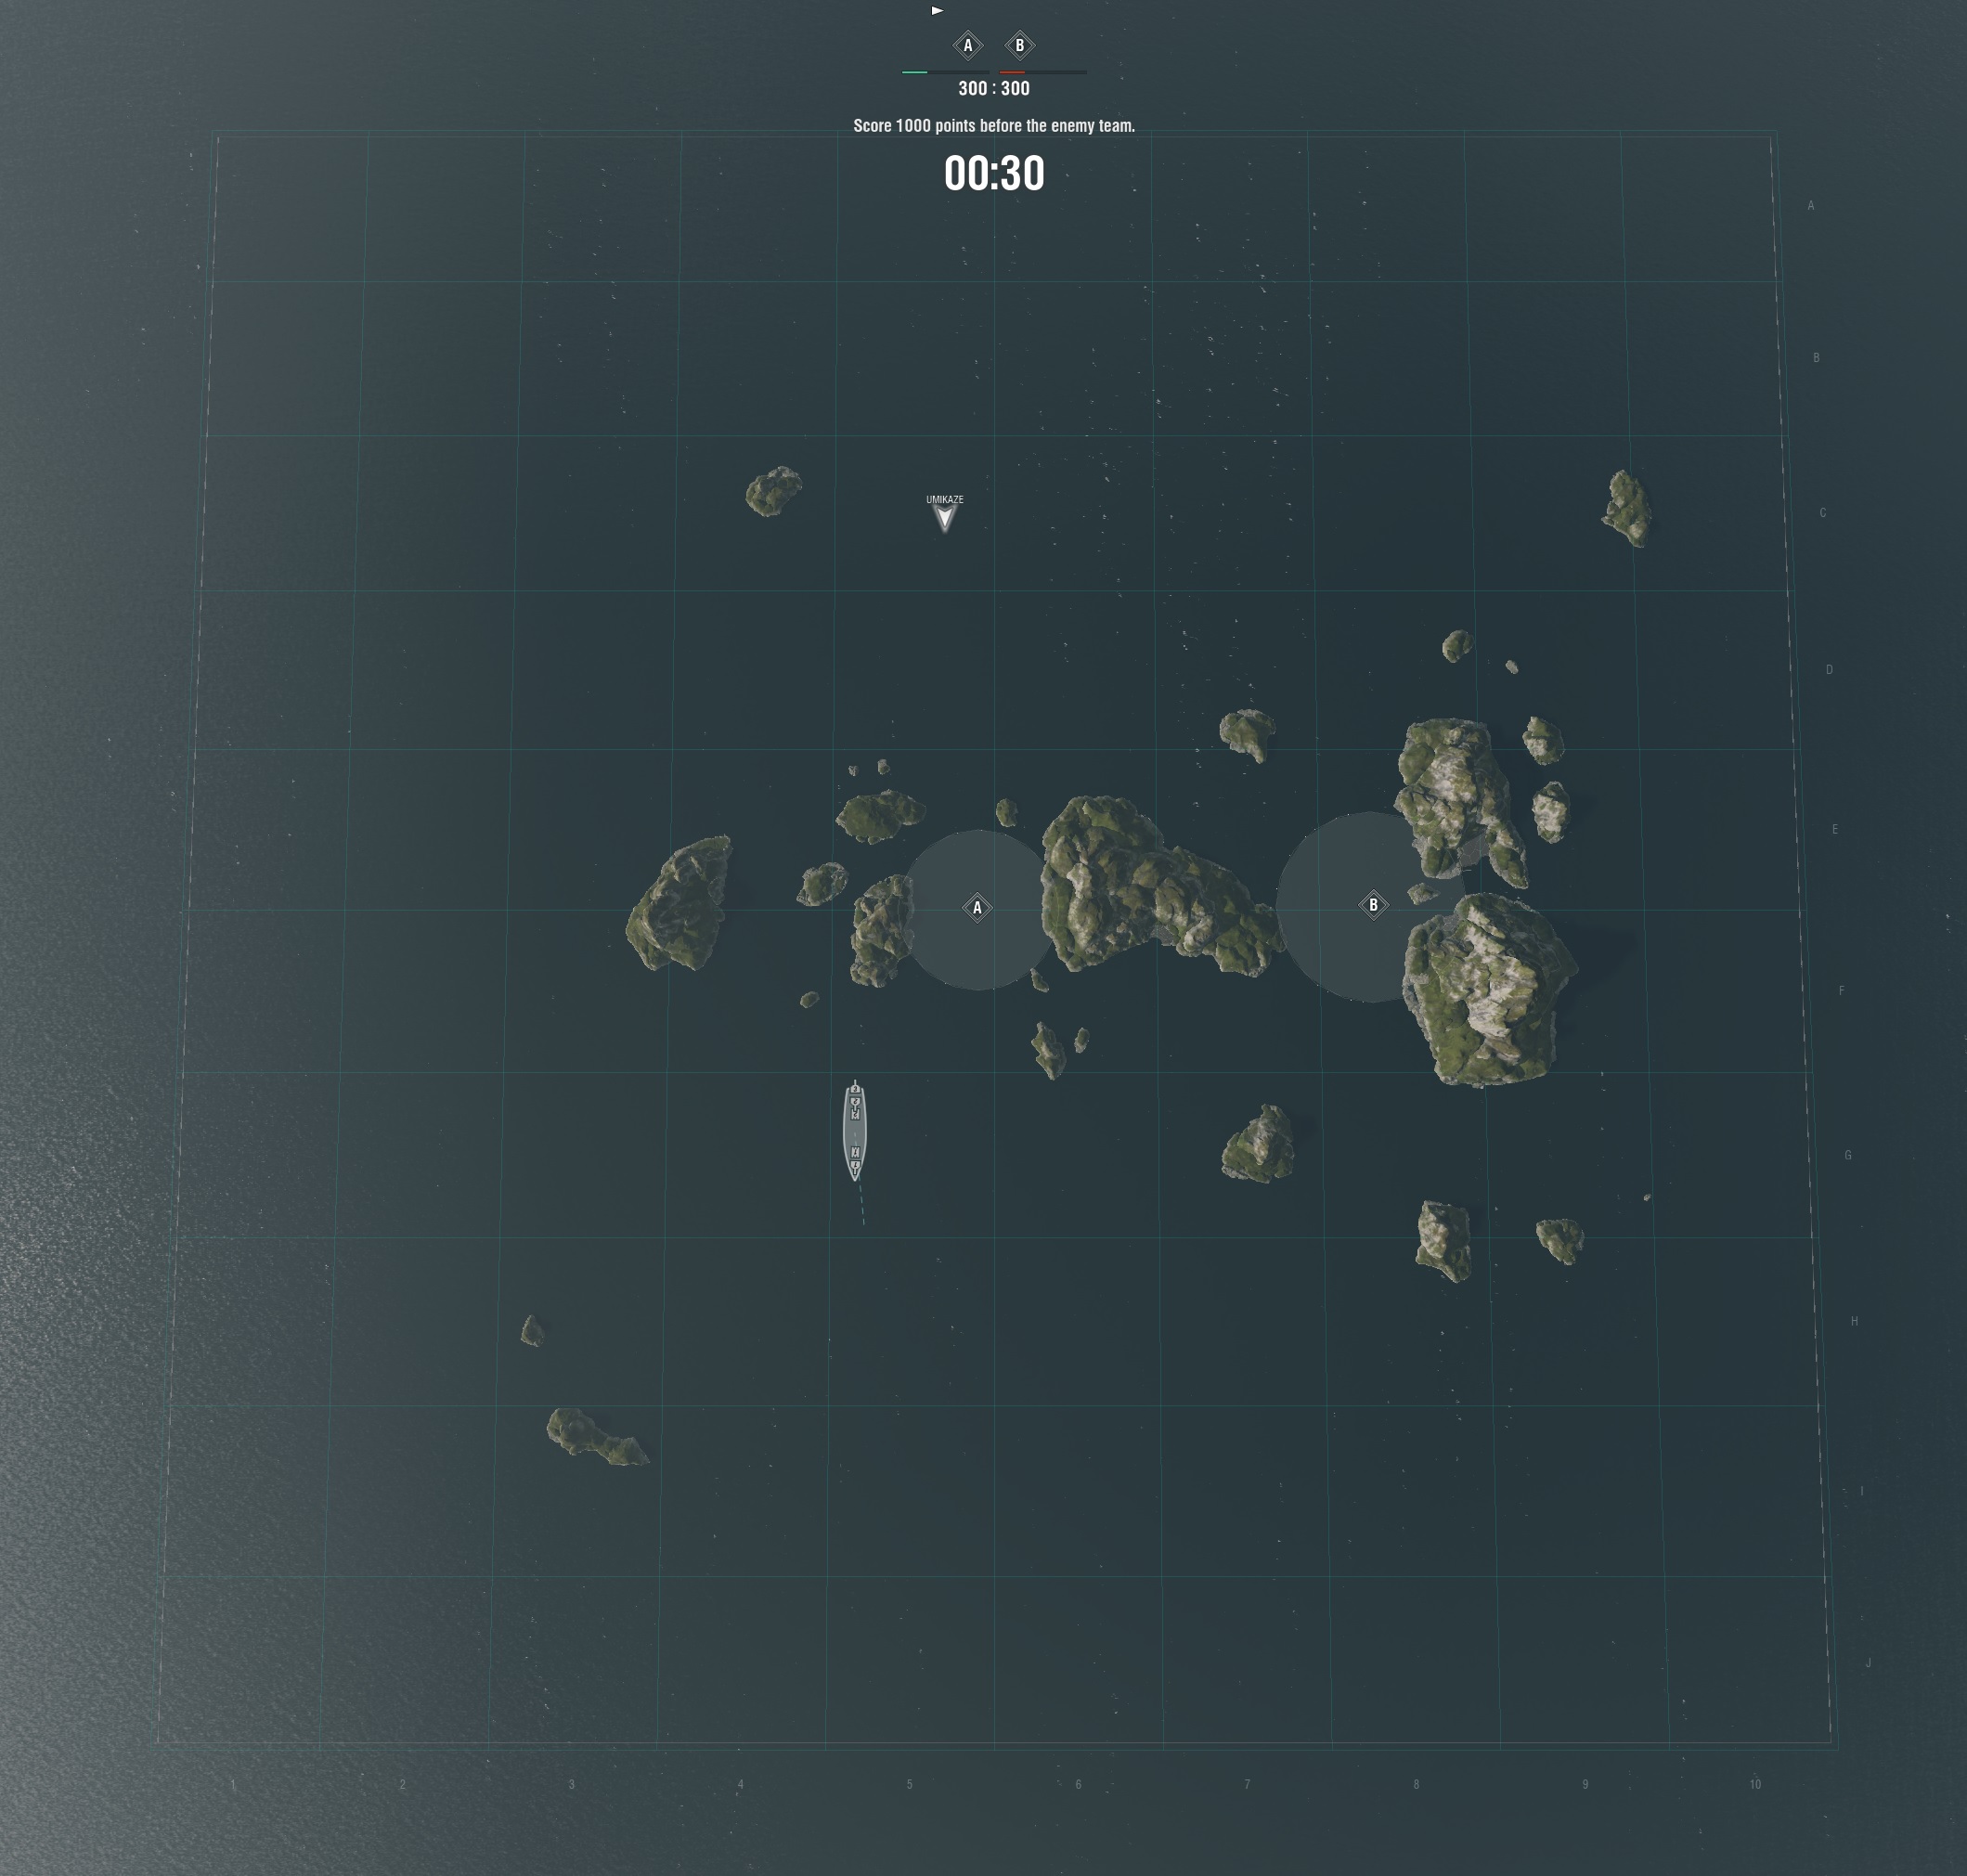
This is probably my personal favorite of all the maps right now (though Shatter is climbing rapidly). This is a North-South oriented map with open seas on the top and bottom, separated by a string of roughly equal large islands that have lots of good gaps to drive through. In the normal atmosphere, it is a daytime map in temperate climates, and in the “Northern Lights” skin it is an arctic map presented at twilight or nighttime (no loss to visibility, the differences are merely ones of character).
North / Northern Lights
Both teams start roughly the same distance from A cap, positioned along the 4-5-6 columns of the map. Because of this, fighting tends to become a long-range duel of cruisers and battleships trying to out-snipe each other from the C and H lines, with destroyers dancing around on E/F and trying to sneak through into the enemy’s rear.
Unlike similar maps (thinking of Atlantic and Lands of Fire, specifically), the large empty zones on the 1-2-3 and 9-10 lines are not relegated to being obsolete in the game mode. Instead, these regions become fall-back areas to get behind cover for battleships wishing to heal up, destroyers seeking a way into the enemy rear, and so on. The caps themselves, being positioned so tightly within the surrounding terrain, are death-traps for anything other than a stealthy destroyer trying to cap them, unless you’re already in the mid- or end-game and the enemy is known not to have a good firing solution on the area.
The channel on the East side of B cap is of special note, as it makes a handy escape hatch or refuge for destroyers who want to contest or prevent cap of B. Rooting them out usually requires a much closer approach than many big ships want to take, and even if they make the effort the DD can (usually) slip away to the West. This area is also well-protected from gunfire, making distance-shooting of ships in the channel more challenging.
North Spawn
North spawn has a couple of choices, both of which are viable.
The main force can grab and hold A with a DD or two, while bigger ships put themselves on overwatch to eliminate enemy DDs that get revealed by the friendlies capping the area. With the exception of one sliver against the island on F6, the enemy has no good cover from heavy ships watching from the North, and even that little area won’t protect from guns on the 4 line or further West (it is also vulnerable to tight torp spreads fired into it, as there is very little room to maneuver). Meanwhile, friendly forces have the small island in E6 and the alleyway out that heads West from E5 to escape from overwhelming enemy fire. A stealthy DD can cap this point and the remainder of the team can prevent it from falling into enemy hands. When following this tactic, if the team has two or more DDs, it makes good sense to dispatch one fast DD (possibly accompanied by a second, or a fast cruiser) to capture or deny B cap while the main fleet focuses its attention on A.
Alternatively, the main fleet can detach and move on B cap, performing a similar operation to that described above for A cap. One or two DDs can remain behind to contest / delay A cap while B is secured. This is a very useful tactic as long as the team remembers a critical point: they should not sail South of the narrow section of B cap, instead staying North of this. To go through that gap presents your ship to a (probably broadside) view of the entire enemy team – who will be all too willing to open fire and sink your ships one at a time as they emerge.
South Spawn
Coming up from the South is remarkably similar in nature to that of the North side, with similar deployment options. I won’t go into much detail here, as you can read the North spawn section above and get the same basic message.
Where this map does come up strange is in the number of weird variations the terrain can introduce.
Variations:
- Sidelong approach to A cap through the 4-line – the islands on the 4/5 border are broken up sufficiently that they can fit even the largest vessels, they are tall enough to block view of a DD, and they are in a perfect position for a ship to suddenly appear on A cap from out of sight. If the opposition on the other side doesn’t have heavies ready to spot your approach, this can be a good surprise. The 1-2-3 line can also be used this way (in randoms, with many more ships on each side, they become a BB/CA shooting gallery), but are generally too out of the way to matter.
Sidelong into B cap from 9 line – similar to the above, here a DD or CA (I don’t recommend a CA here, but people have pulled it off) takes the gap in the islands on the 8-9 line to appear without warning in B cap. If there are many opposing ships focusing on A cap, this can be very successful…but if they’re over here, your attempt at surprise will melt pretty quickly. The reason I say a DD is better here is because when the channel hits its “Y” fork, you have much better speed and maneuverability to get out of the way if enemy fire or torps are inbound. You also have a better chance of pulling this off with low detection radius, which only a few cruisers can brag about.
